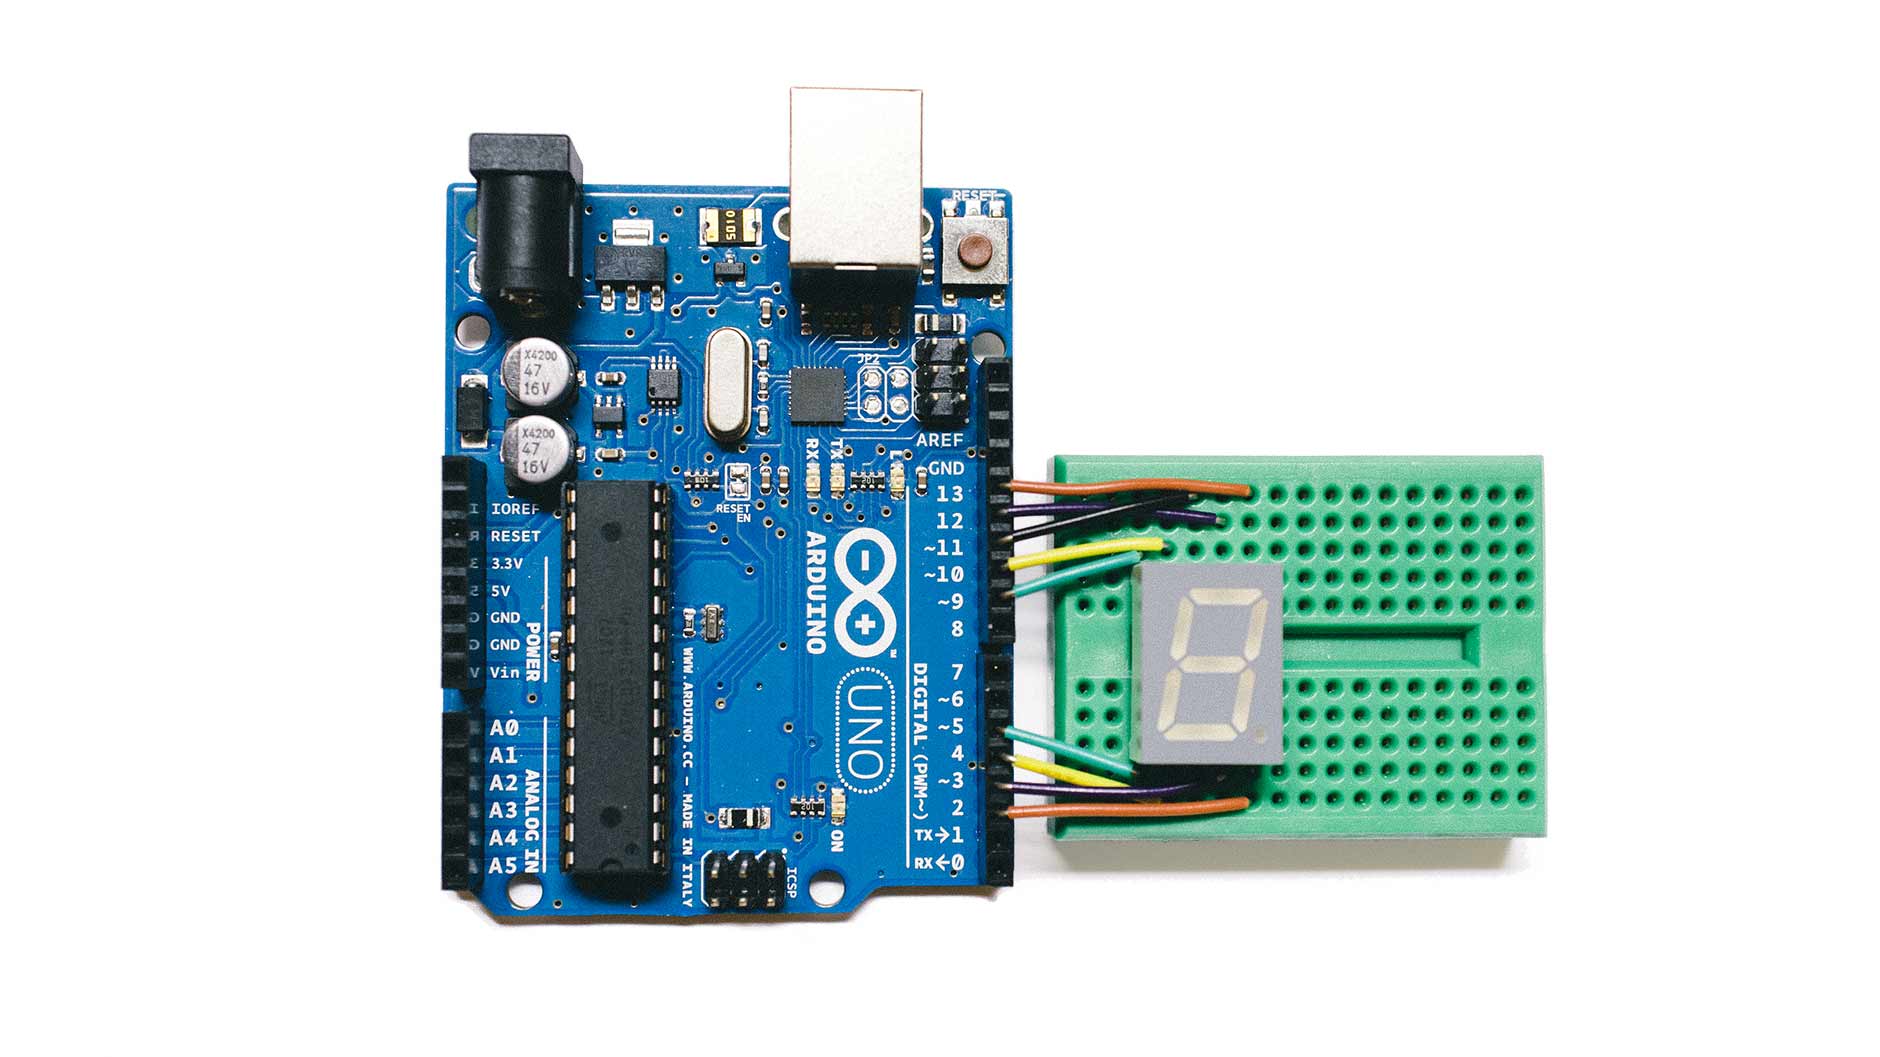
In this article, I’m using Ruby to control a 7-Segment Display via an Arduino.
Hardware needed
You’ll need a few things in order to follow along with this article:
- 1 x Arduino
- 1 x Breadboard
- 1 x 7-Segment Display (SSD)
- 9 x Short wires
(I’ve got an Arduino UNO R3 and the Counting Knob MiniKit from Fritzing)
Software needed
A fairly new version of Ruby (2.0.0 or 1.9.3 should be fine).
You will also need a recent version of the Arduino Software installed.
We are going to use the development version of the Dino gem to communicate with the Arduino from Ruby (at least until 0.12 is released).
Just clone the repo, build and install the gem:
$ cd /tmp
$ git clone git@github.com:austinbv/dino.git -b 0.12.0-wip
$ cd dino
$ gem build dino.gemspec
$ gem install dino-0.11.2.gem
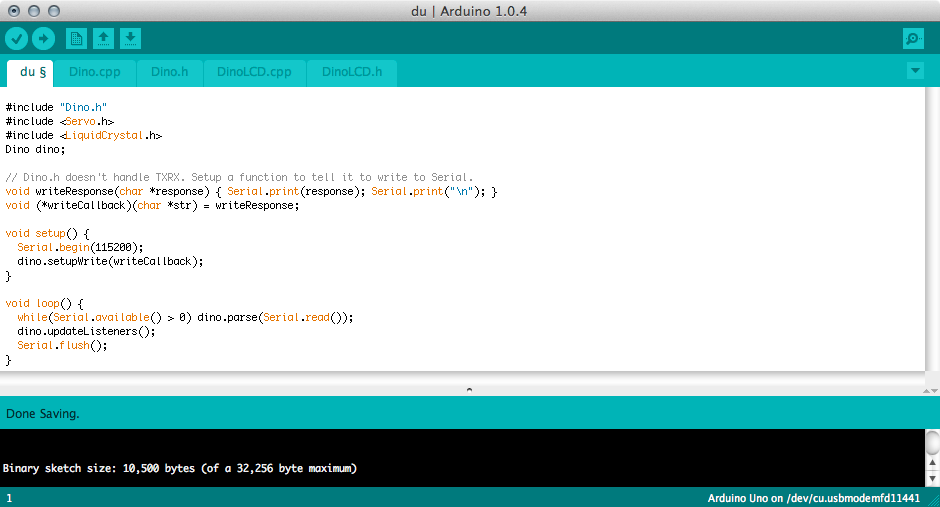
Dino comes with a binary that lets you generate a sketch that you should upload to the Arduino:
$ dino generate-sketch serial
$ open du/du.ino
# Press the upload button in the Arduino Editor

Wiring instructions
Follow the wiring instructions for the SSD in this YouTube video (01:10-04:15) Just ignore the knob and blue wires and you should be good to go…
You can also skip the bottom wire (Pin 2) if you don’t want to use the decimal point.

Code
seven_segment_display.rb
require 'dino'

class SevenSegmentDisplay <
  Dino::Components::BaseComponent

  CHARACTERS = {
    '0' => [1,1,1,1,1,1,0],
    '1' => [0,1,1,0,0,0,0],
    '2' => [1,1,0,1,1,0,1],
    '3' => [1,1,1,1,0,0,1],
    '4' => [0,1,1,0,0,1,1],
    '5' => [1,0,1,1,0,1,1],
    '6' => [1,0,1,1,1,1,1],
    '7' => [1,1,1,0,0,0,0],
    '8' => [1,1,1,1,1,1,1],
    '9' => [1,1,1,1,0,1,1],
    ' ' => [0,0,0,0,0,0,0],
    '_' => [0,0,0,1,0,0,0],
    '-' => [0,0,0,0,0,0,1],
    'A' => [1,1,1,0,1,1,1],
    'B' => [0,0,1,1,1,1,1],
    'C' => [0,0,0,1,1,0,1],
    'D' => [0,1,1,1,1,0,1],
    'E' => [1,0,0,1,1,1,1],
    'F' => [1,0,0,0,1,1,1],
    'G' => [1,0,1,1,1,1,0],
    'H' => [0,0,1,0,1,1,1],
    'I' => [0,0,1,0,0,0,0],
    'J' => [0,1,1,1,1,0,0],
    'K' => [1,0,1,0,1,1,1],
    'L' => [0,0,0,1,1,1,0],
    'M' => [1,1,1,0,1,1,0],
    'N' => [0,0,1,0,1,0,1],
    'O' => [0,0,1,1,1,0,1],
    'P' => [1,1,0,0,1,1,1],
    'Q' => [1,1,1,0,0,1,1],
    'R' => [0,0,0,0,1,0,1],
    'S' => [0,0,1,1,0,1,1],
    'T' => [0,0,0,1,1,1,1],
    'U' => [0,0,1,1,1,0,0],
    'V' => [0,1,1,1,1,1,0],
    'W' => [0,1,1,1,1,1,1],
    'X' => [0,1,1,0,1,1,1],
    'Y' => [0,1,1,1,0,1,1],
    'Z' => [1,1,0,1,1,0,0],
  }

  def after_initialize(options={})
    @anode = options[:anode]

    # Set all pins to output
    pins.each do |pin|
      set_pin_mode(pin, :out)
    end

    # Clear the display
    clear

    # Turn on the display
    on
  end

  def clear
    7.times do |t|
      toggle t-1, 0
    end
  end

  def display(char)
    key = char.to_s.upcase

    # Make sure the display
    # is turned on
    on

    if chars = CHARACTERS[key]
      chars.each_with_index do |s,i|
        toggle i, s
      end
    else
      clear
    end
  end

  def off
    digital_write @anode, 0
  end

  def on
    digital_write @anode, 64
  end

  def scroll(string)
    string.chars.each do |chr|
      off
      sleep 0.03
      display chr
      sleep 0.4
    end

    clear
  end

  def toggle(number, state)
    digital_write pins[number],
      state == 1 ? 0 : 1
  end
end
The CHARACTERS hash is based on the Wikipedia article
Seven-segment display character representations
example.rb
require './seven_segment_display'

include Dino

# Connect to the Arduino and
# take control of the SSD
#
ssd = SevenSegmentDisplay.new(
  board: Board.new(TxRx.new),
  pins:  [12,13,3,4,5,10,9],
  anode: 11
)

# Turn off the
# display on exit
#
trap("SIGINT") do
  exit !ssd.off
end

# Start the loop
#
loop do
  $stdout.flush
  str = gets.chomp

  # Check if we need to
  # scroll or just display
  # a single character
  #
  if str.length > 1
    ssd.scroll str
  else
    ssd.display str
  end
end
Decimal point
You might have noticed that I didn’t control the decimal point in this example. I’ll just leave it up to you if you want to add support for toggling it.
Turning off the decimal point
ssd.send :digital_write, 2, 255
Note
You can (and probably should) use a shift register in order to reduce the number of wires needed for each SSD.
Happy hacking!
