Somehow, I’ve ended up collecting a bunch of microcontrollers, mainly Arduino or at least Arduino-compatible boards that have primarily been left to gather dust.
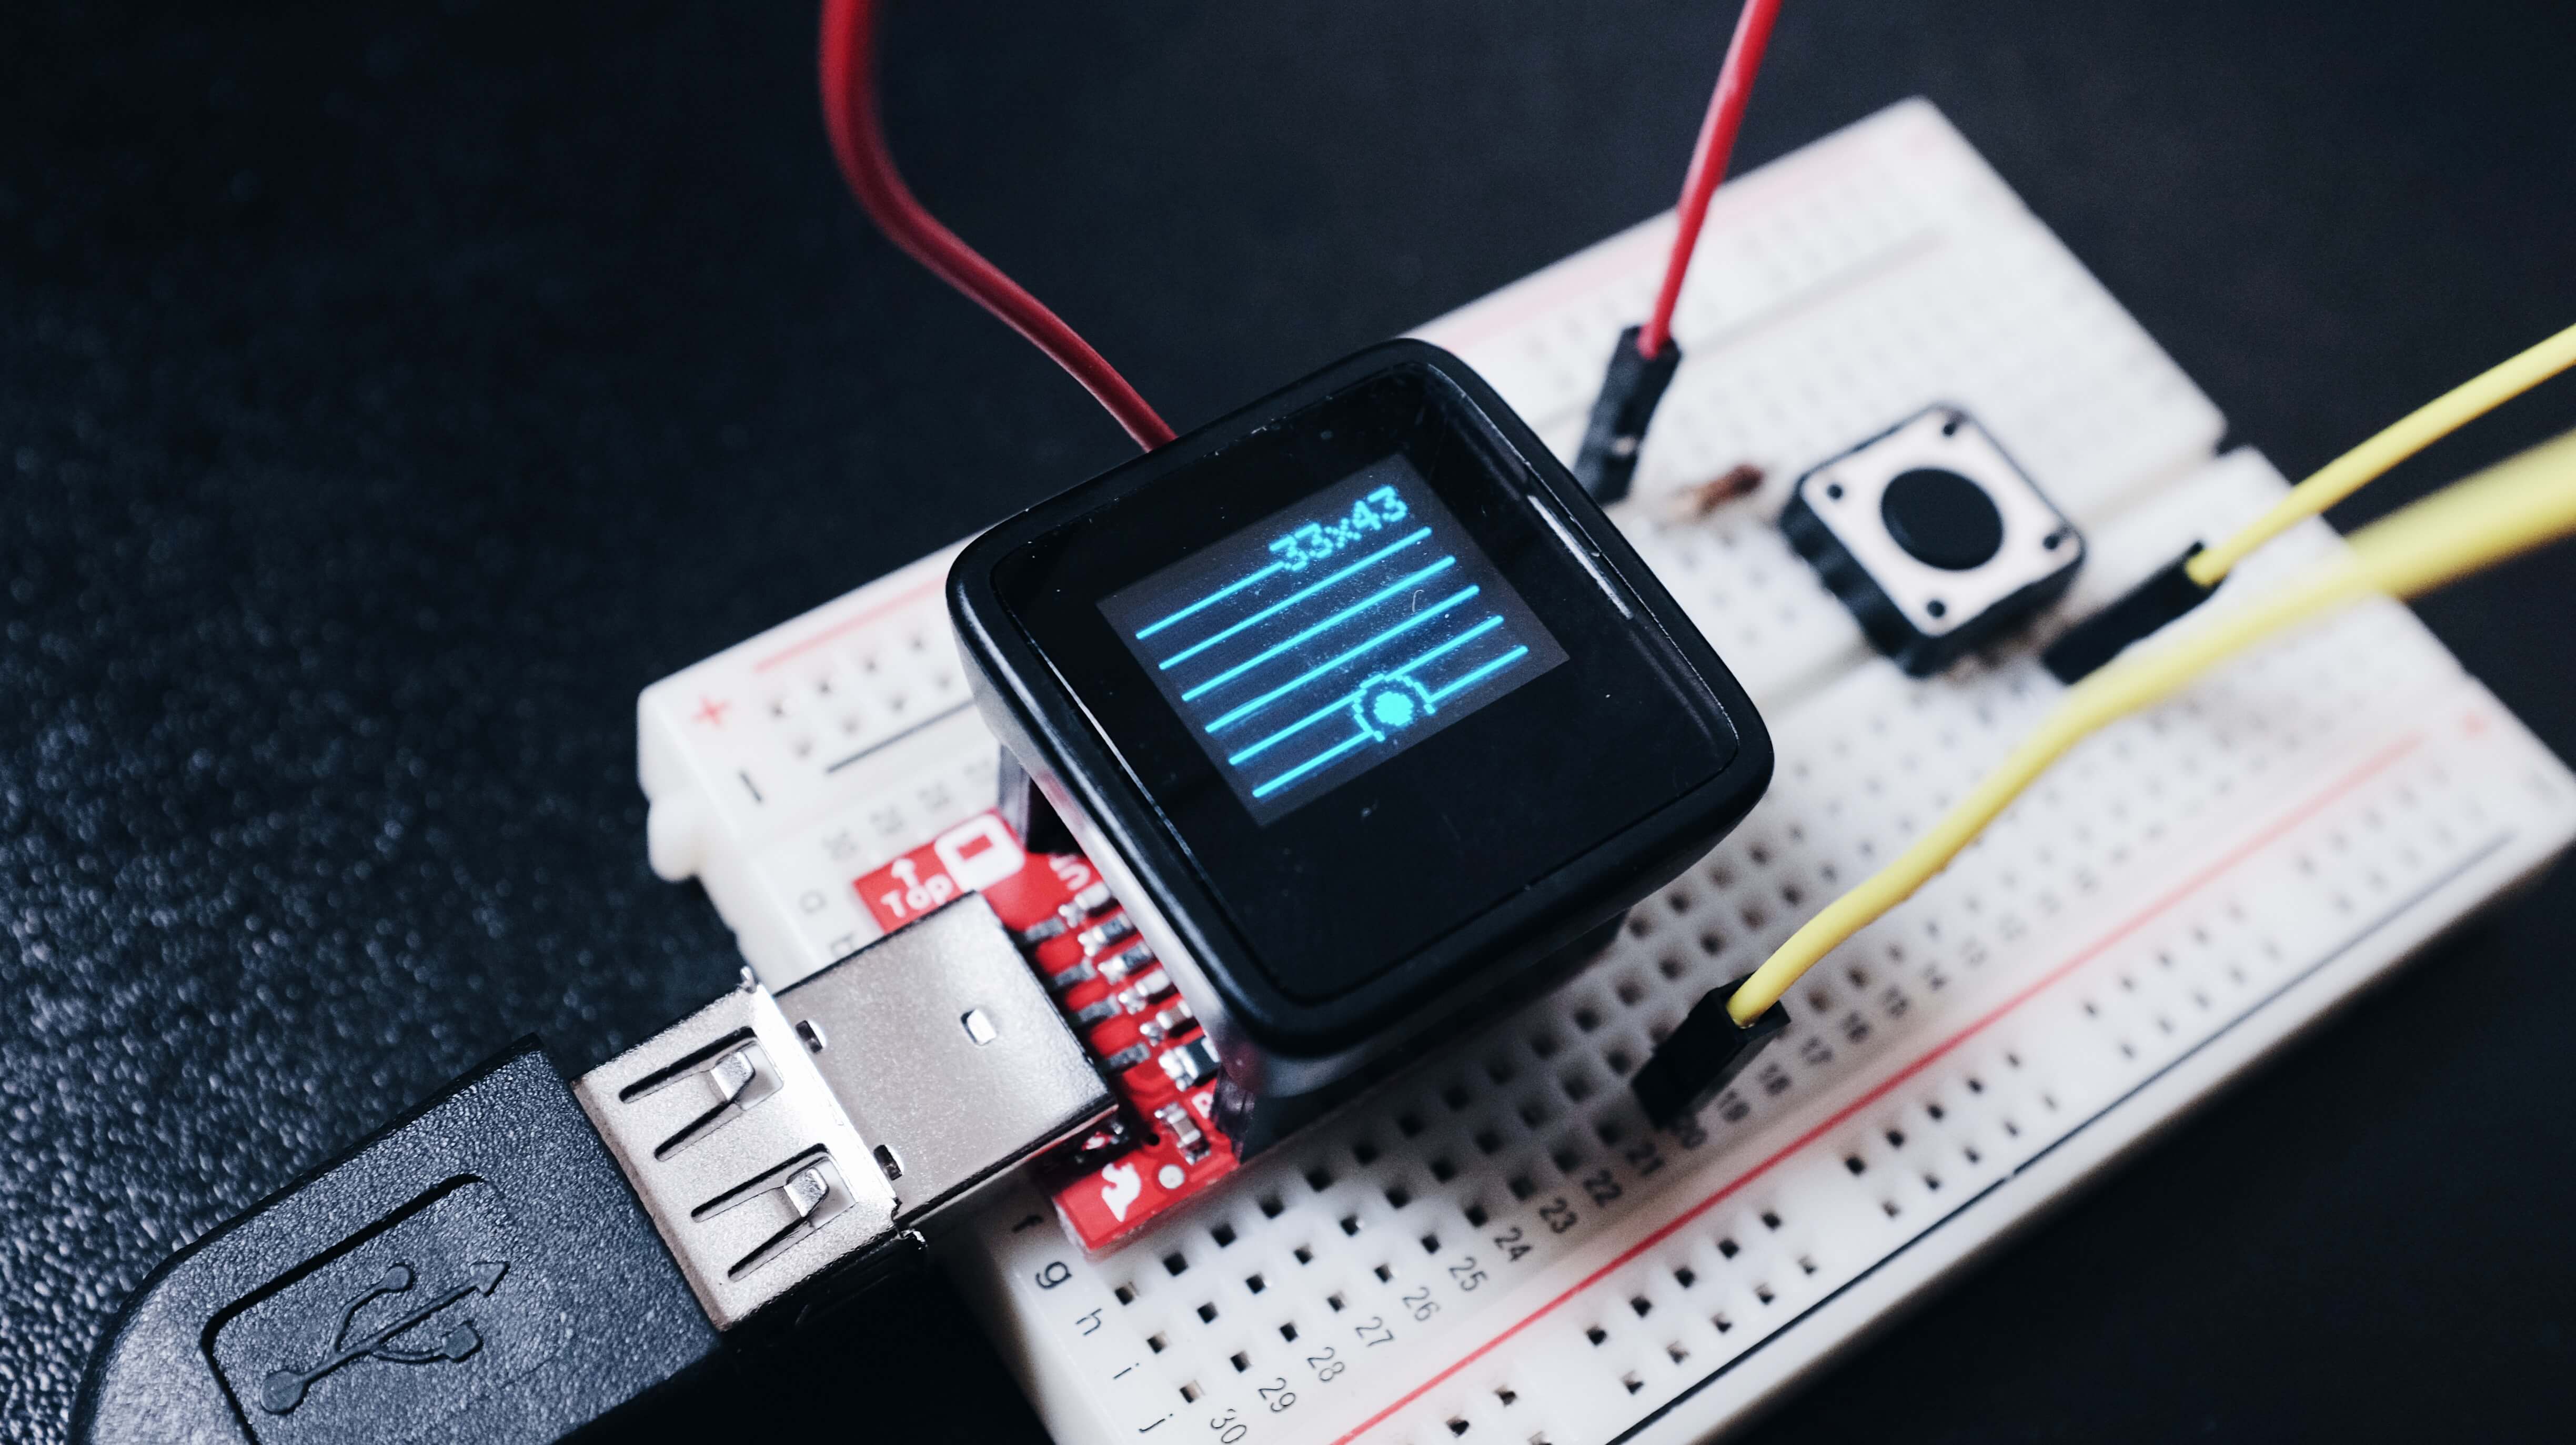
One of those boards is a SparkFun MicroView
which has a 64x48 pixel OLED.
I also have the USB programmer for it, which makes it quite convenient to both supply the MicroView with power and to communicate with it over a serial connection;
Note: Most people would likely just download the Arduino IDE, and get started writing code for it.
Naturally, I wanted to stick with my editor of choice instead of using the IDE. With the arduino-cli and (clangd-based) arduino-language-server, that plan worked out just fine.
Installation
Arduino CLI
The Arduino CLI can be installed in a few ways, such as;
- With Homebrew
$ brew install arduino-cli
- Or by running the install script
$ curl -fsSL \
https://raw.githubusercontent.com/arduino/arduino-cli/master/install.sh \
| BINDIR=~/.local/bin sh
💡 The
BINDIRenvironment variable is used to specify where you’d likearduino-clito end up.
clangd
The other prerequisite for running the Arduino LSP is clangd,
it can also be installed in a number of different ways;
- With Homebrew (Along with
LLVM)
$ brew install llvm
$ sudo apt-get install clangd-14
Arduino LSP
The Arduino LSP itself is written in Go, so can easily be installed by using go install;
$ go install github.com/arduino/arduino-language-server@v0.7.7

In order to configure the
arduino-language-serverin Neovim I rely on nvim-lspconfigThe relevant configuration looks something like this;
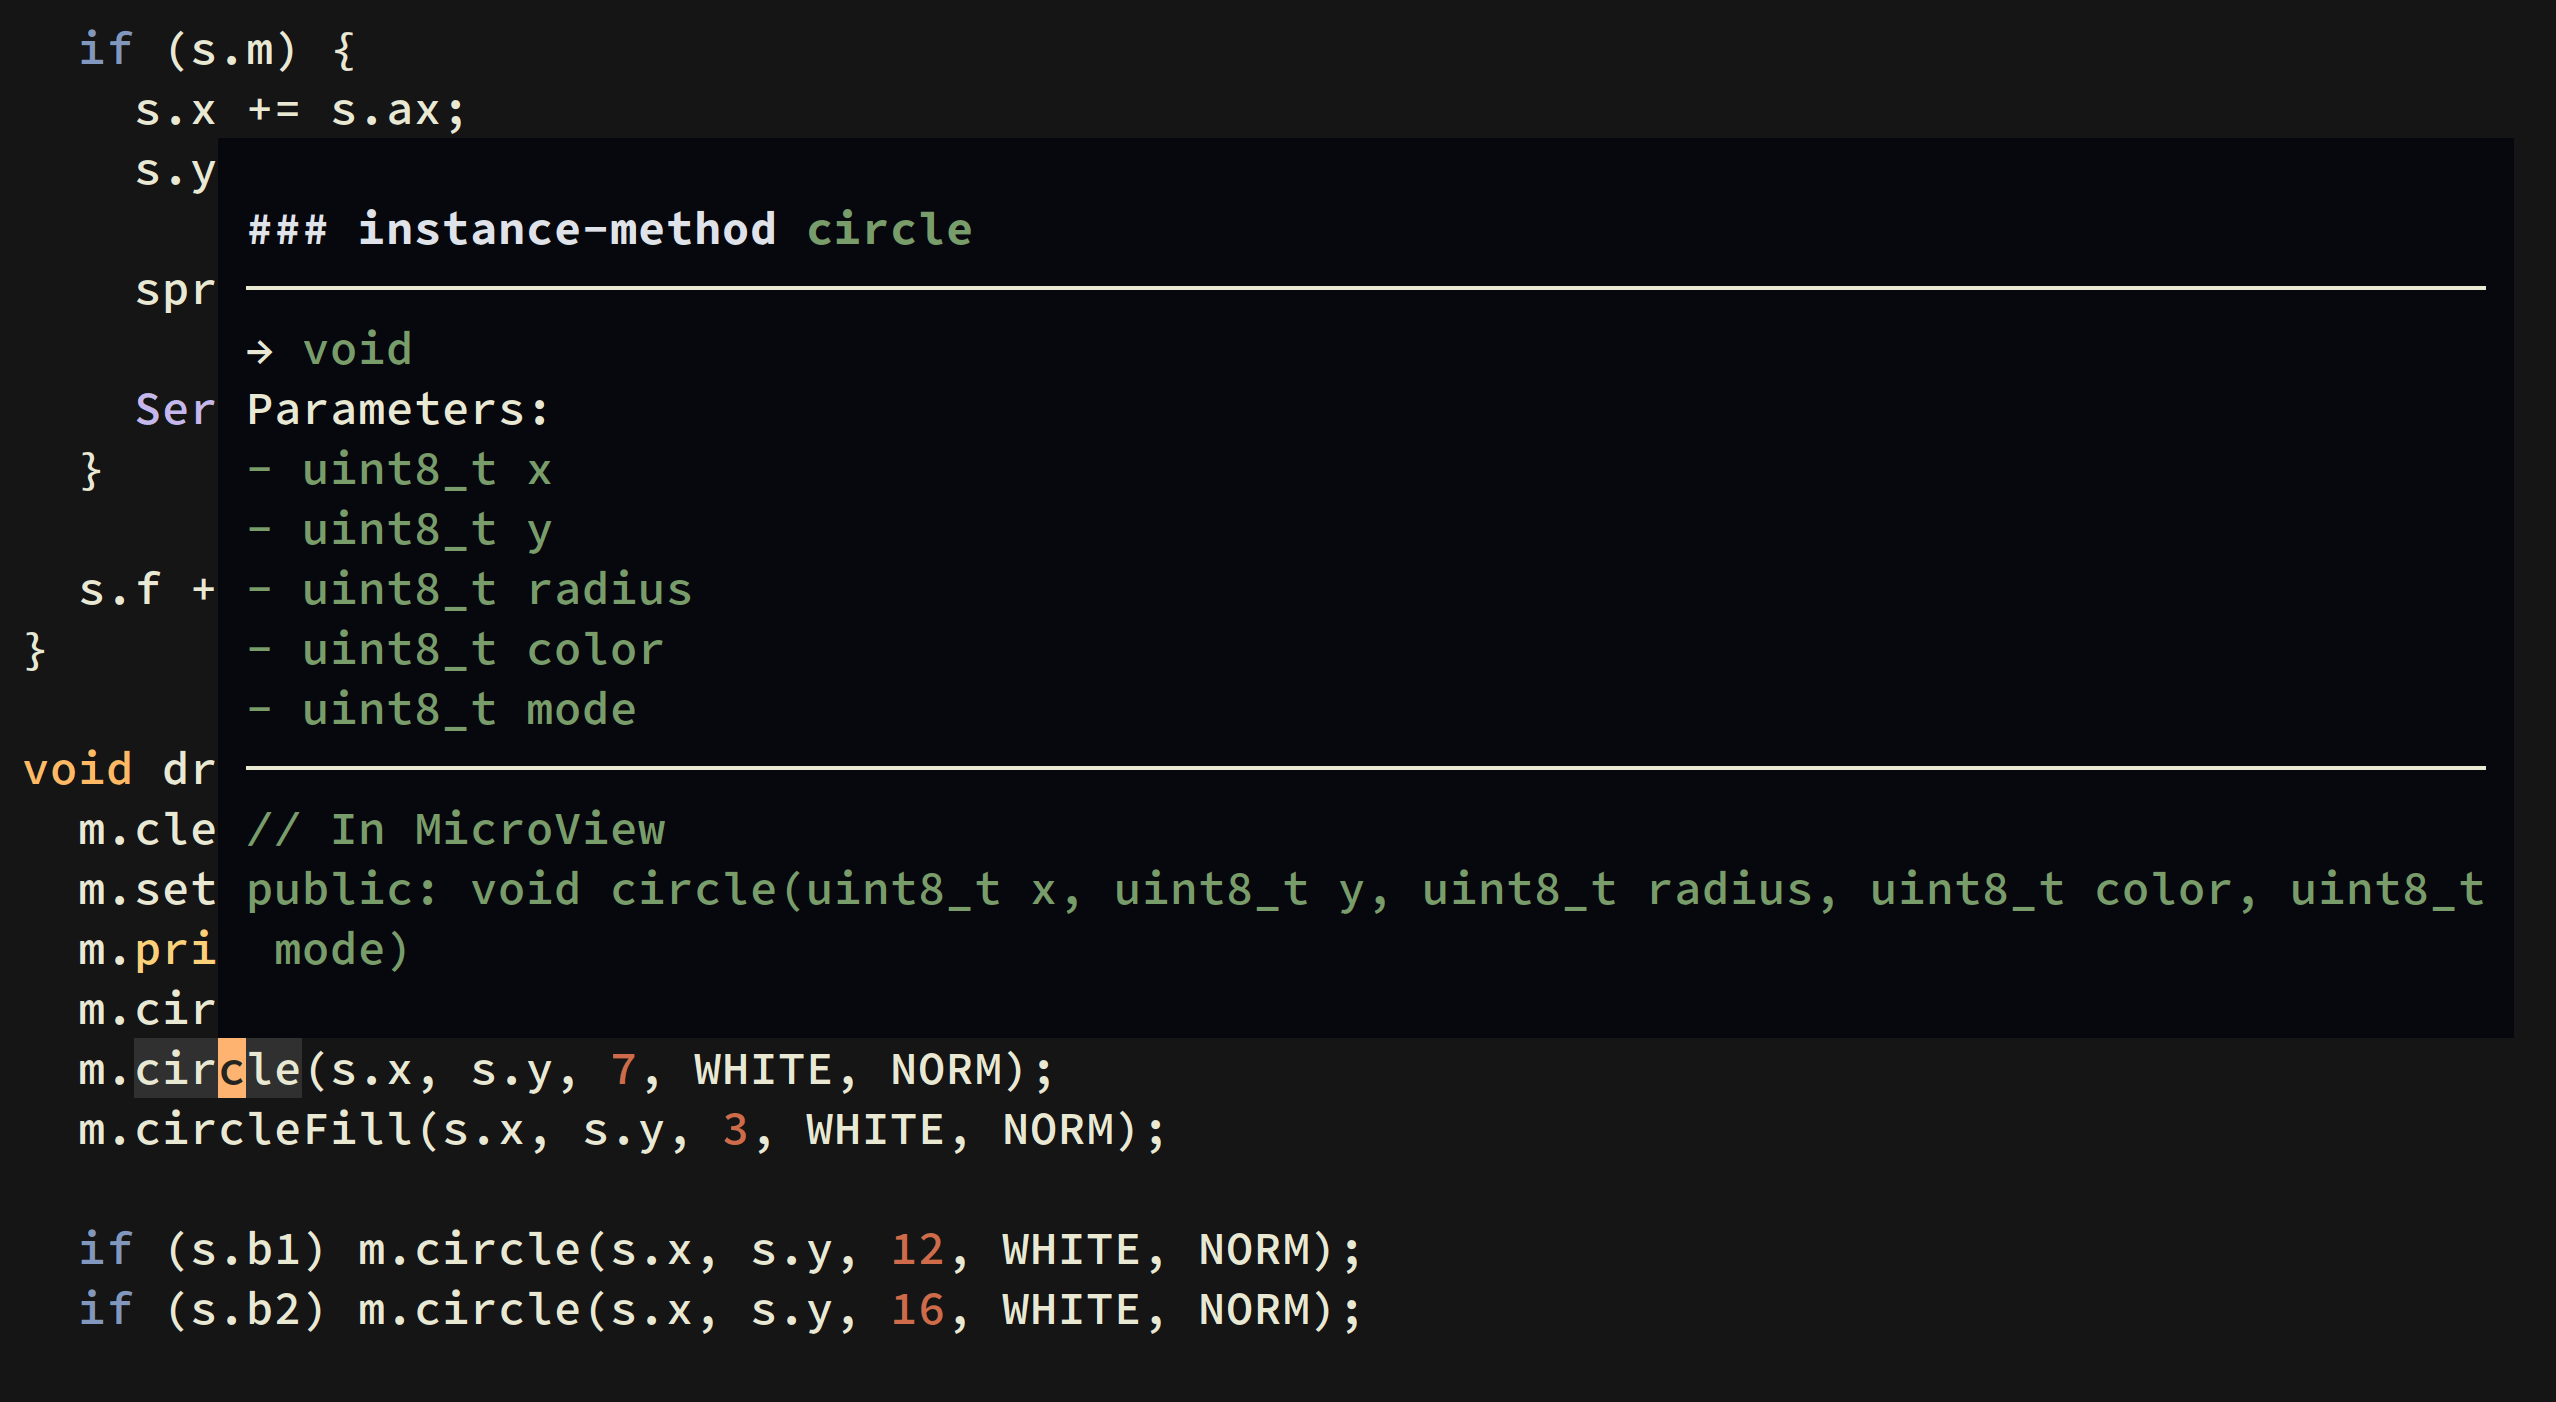
vim.lsp.config('arduino_language_server', {
  cmd = { "arduino-language-server" },
  filetypes = { "arduino" },
  capabilities = capabilities
})
vim.lsp.enable('arduino_language_server')
This allows for functionality such as go to definition, show documentation, etc;
Time to finally write some code!
In order for arduino-cli to know for what board type it should compile for,
and where to upload the binary we need a sketch.yaml
where details like that are declared;
default_fqbn: arduino:avr:uno
default_port: /dev/ttyUSB0
The MicroView is 100% code compatible with
Arduino Uno (ATmega328P version)
but we want to rely on the library that SparkFun has developed for it.
$ arduino-cli lib install "SparkFun MicroView"
Downloading SparkFun MicroView@1.0.2...
SparkFun MicroView@1.0.2 downloaded
Installing SparkFun MicroView@1.0.2...
Installed SparkFun MicroView@1.0.2
My config for
arduino-clicurrently looks like this;$ arduino-cli config dump board_manager: additional_urls: [] directories: builtin: libraries: /home/peter/.arduino15/libraries data: /home/peter/.arduino15 user: /home/peter/Code/Arduino locale: en
So, the library was installed as SparkFun_MicroView in ~/Code/Arduino/libraries/
MicroViewBounce.ino
#include <MicroView.h>

MicroView m;

struct State {
  int8_t x;
  int8_t y;
  int8_t ax;
  int8_t ay;
  uint8_t f;
  bool m;
  bool b1;
  bool b2;
};

State s = {
  .x = 5,
  .y = 5,
  .ax = -1,
  .ay = 1,
  .f = 0,
  .m = true,
};

char buf[32];

const int b1Pin = 2;
const int b2Pin = 3;

void setup() {
  Serial.begin(9600);

  pinMode(b1Pin, INPUT_PULLUP);
  pinMode(b2Pin, INPUT_PULLUP);

  m.begin();
  m.clear(ALL);
}

void loop() {
	input();
  update();

  if (s.f % 2 == 0) draw();

  delay(16);
}

void input() {
  s.b1 = !digitalRead(b1Pin);
  s.b2 = !digitalRead(b2Pin);

  if(s.b1) s.ax -= 2;
  if(s.b2) s.ax += 2;

  if (Serial.available() > 0) {
    char c = Serial.read();

    switch(c) {
      case ' ':
        s.m = !s.m;
        break;
      case 'w':
        s.ay -= 2;
        break;
      case 's':
        s.ay += 2;
        break;
      case 'a':
        s.ax -= 2;
        break;
      case 'd':
        s.ax += 2;
        break;
    }
  }
}

void update() {
  if (s.ax < 0) s.ax = -1;
  if (s.ax > 0) s.ax = 1;
  if (s.ay < 0) s.ay = -1;
  if (s.ay > 0) s.ay = 1;

  if (s.x < 1 || s.x > 63) s.ax = s.ax * -1;
  if (s.y < 1 || s.y > 47) s.ay = s.ay * -1;
  if (s.x < 0 || s.x > 64) s.x = 32;
  if (s.y < 0 || s.y > 48) s.y = 24;

  if (s.m) {
    s.x += s.ax;
    s.y += s.ay;

    sprintf(buf, "%02dx%02d", s.x, s.y);

    Serial.println(buf);
  }

  s.f += 1;
}

void draw() {
  m.clear(PAGE, ' ');
  m.setCursor(34,1);
  m.print(buf);
  m.circleFill(s.x, s.y, 6, BLACK, NORM);
  m.circle(s.x, s.y, 7, WHITE, NORM);
  m.circleFill(s.x, s.y, 3, WHITE, NORM);

  if (s.b1) m.circle(s.x, s.y, 12, WHITE, NORM);
  if (s.b2) m.circle(s.x, s.y, 16, WHITE, NORM);

  m.display();
}
Then it was just a matter of using the arduino-cli to compile and upload the binary;
$ arduino-cli compile && arduino-cli upload
Sketch uses 10624 bytes (32%) of program storage space. Maximum is 32256 bytes.

Global variables use 663 bytes (32%) of dynamic memory,
leaving 1385 bytes for local variables. Maximum is 2048 bytes.

New upload port: /dev/ttyUSB0 (serial)
In order to use
WASDas input I ranarduino-cli monitor --raw -qin a separate terminal.
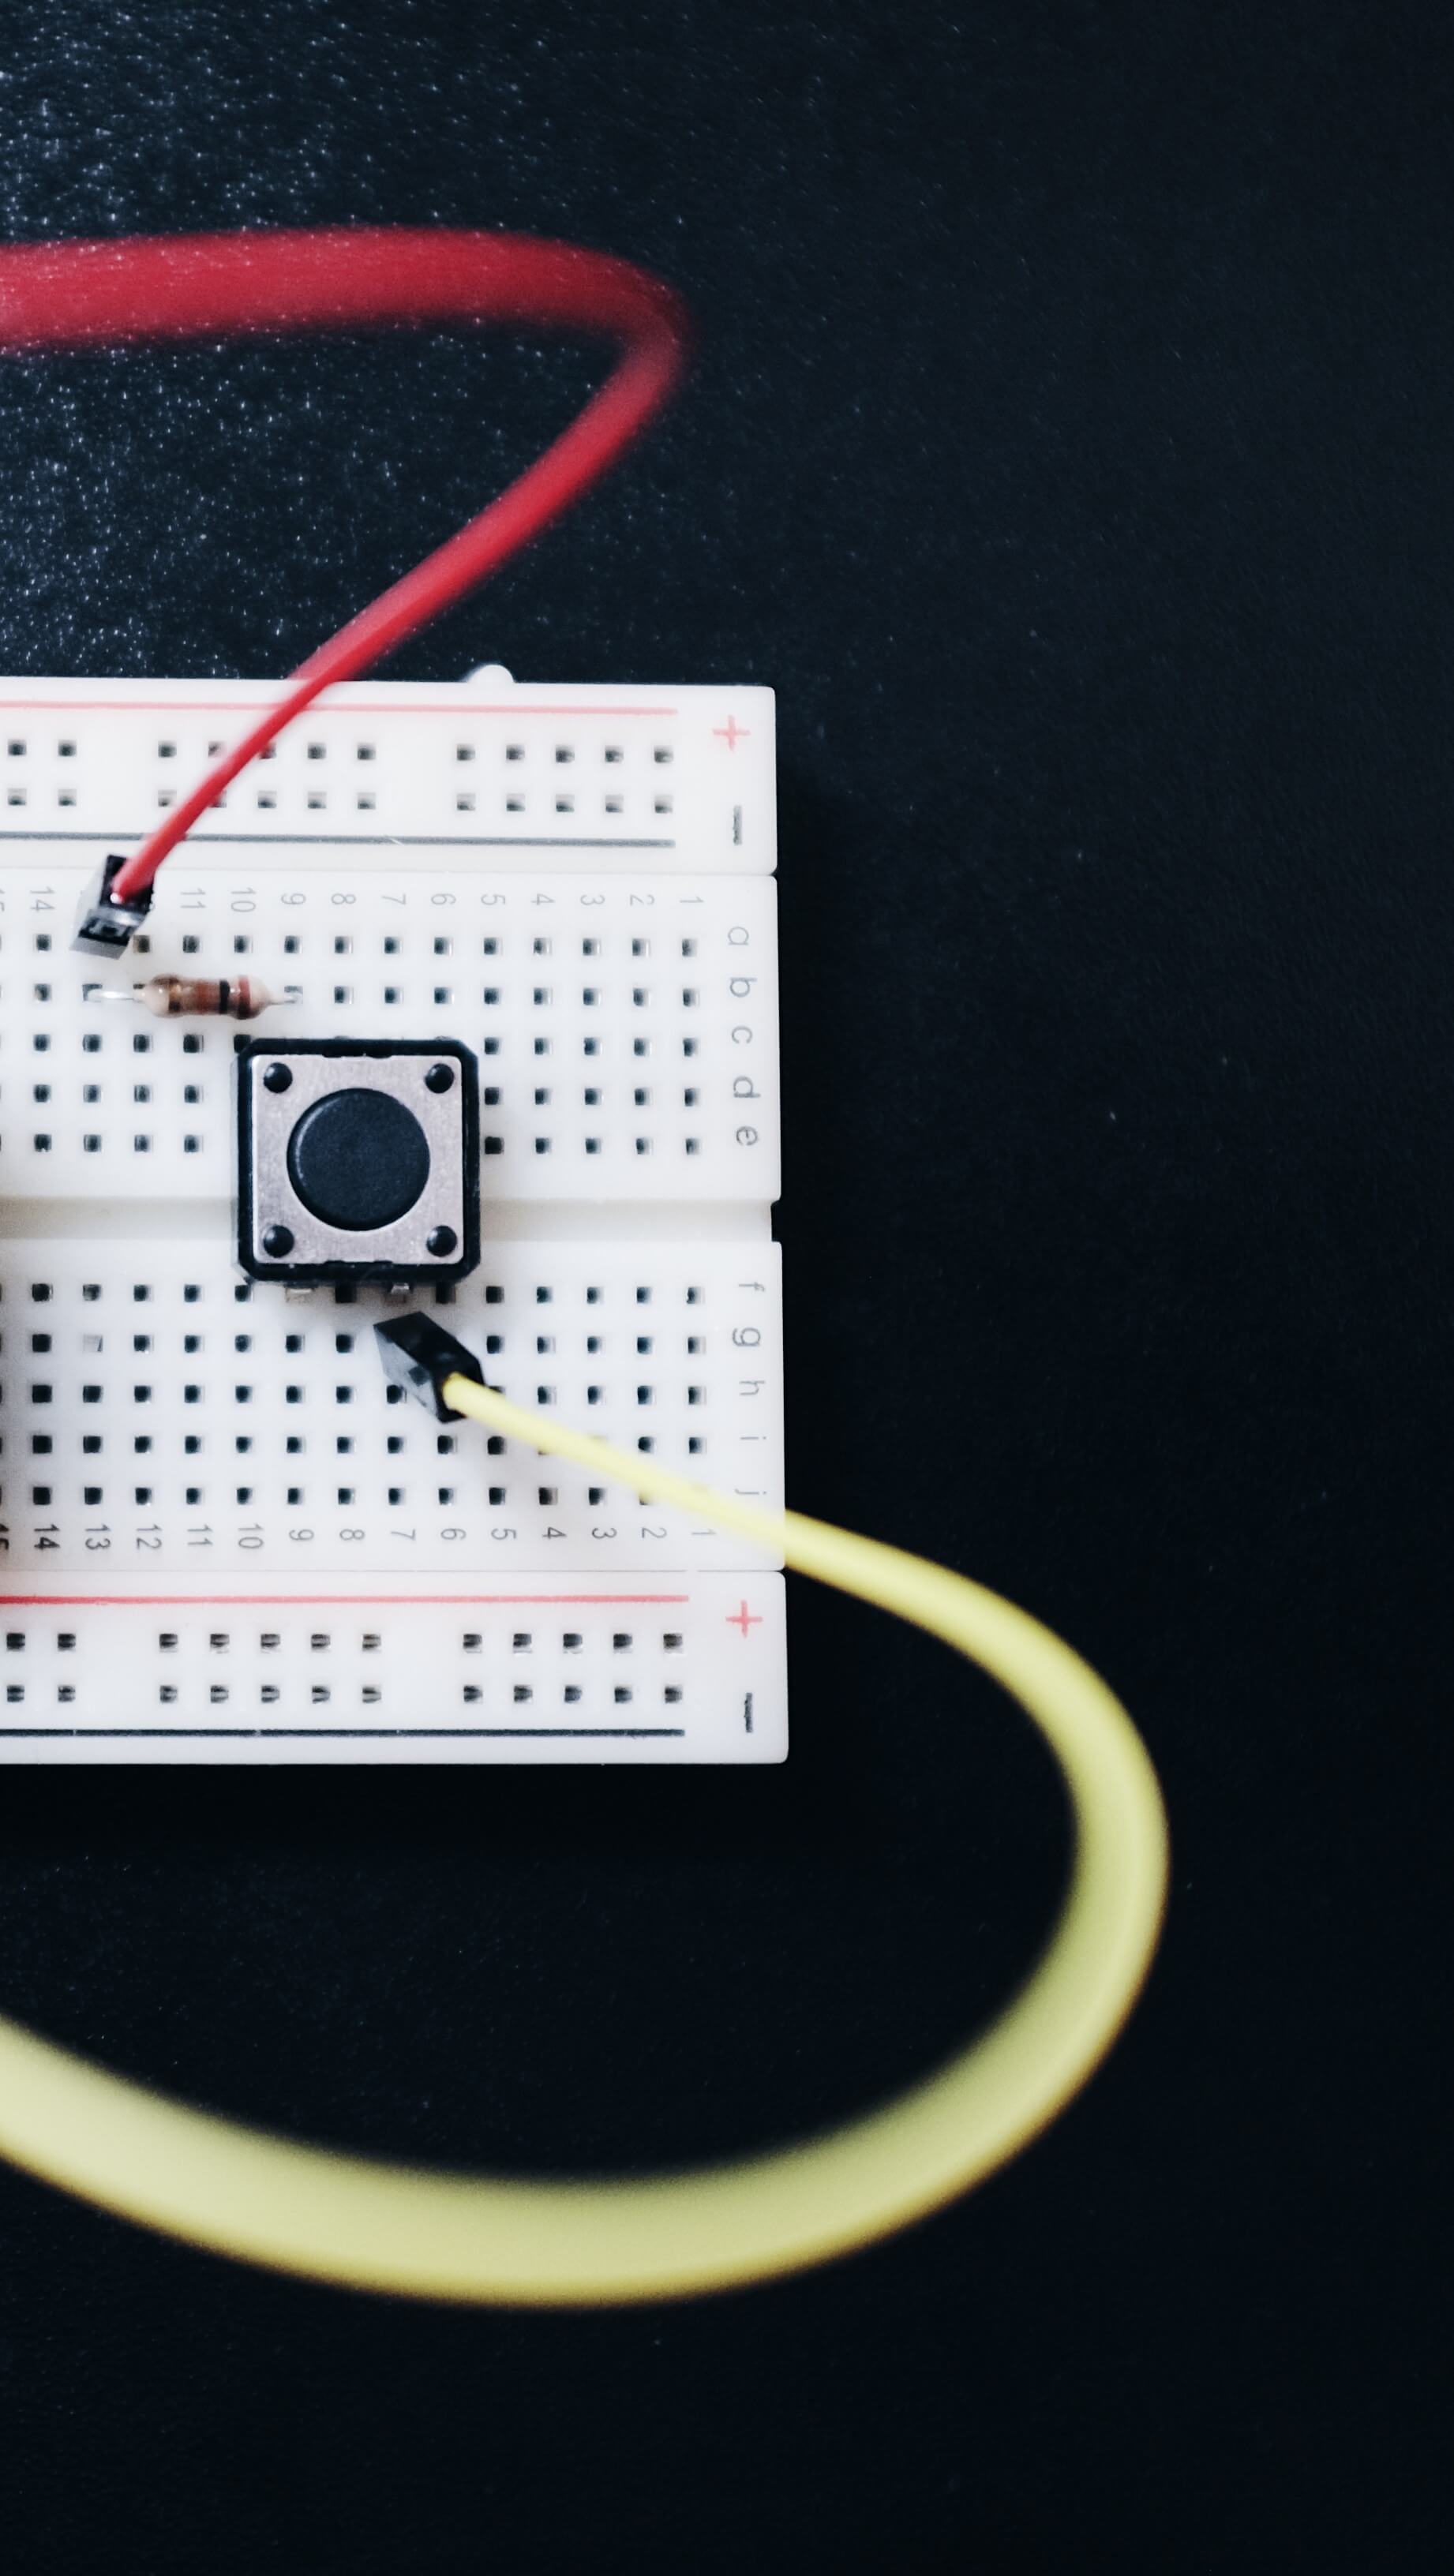
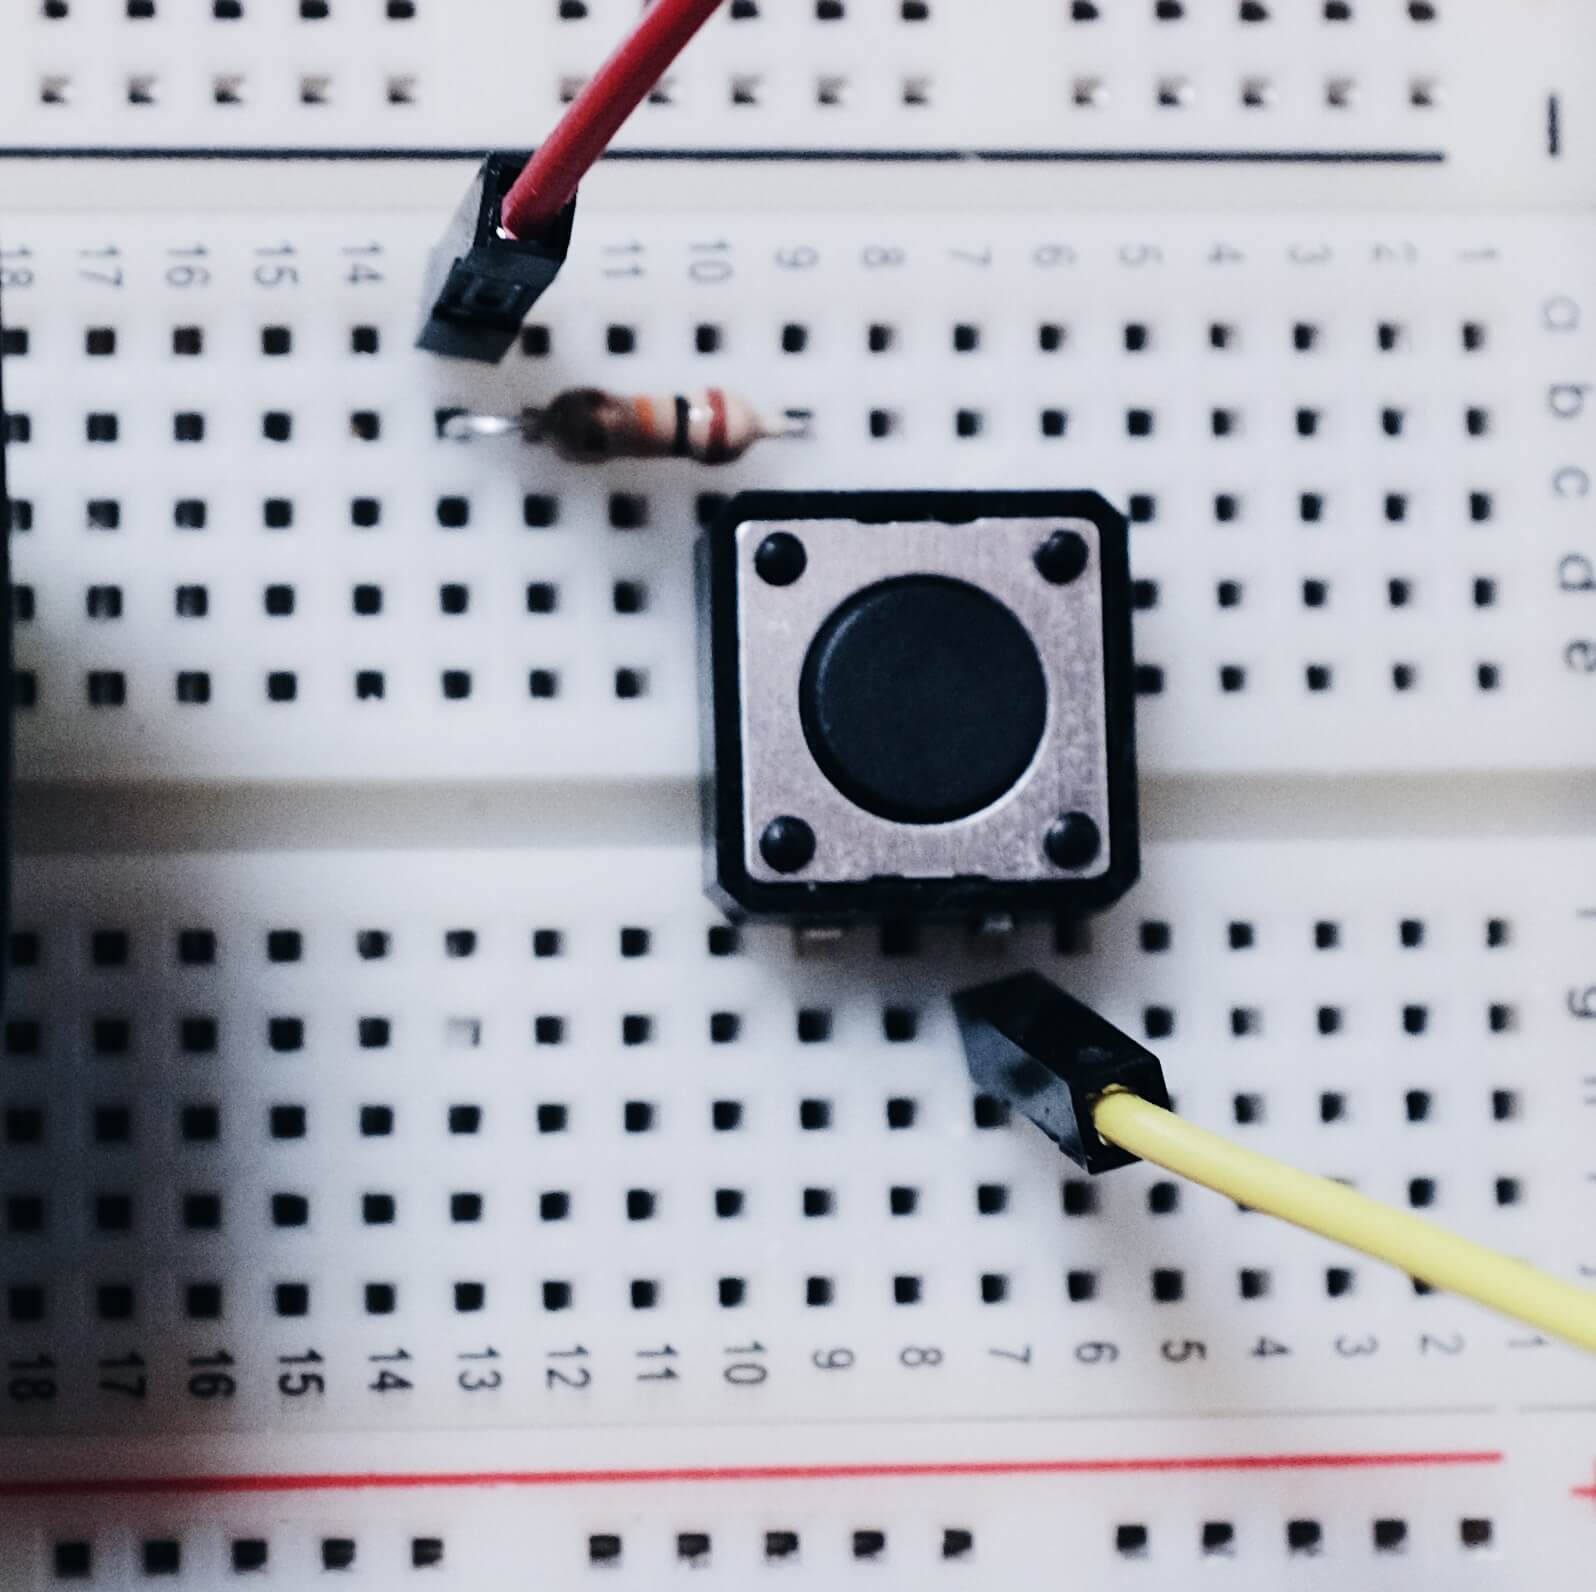
As you probably noticed, I also ended up wiring up two push buttons that could be used to control what is drawn on the display;
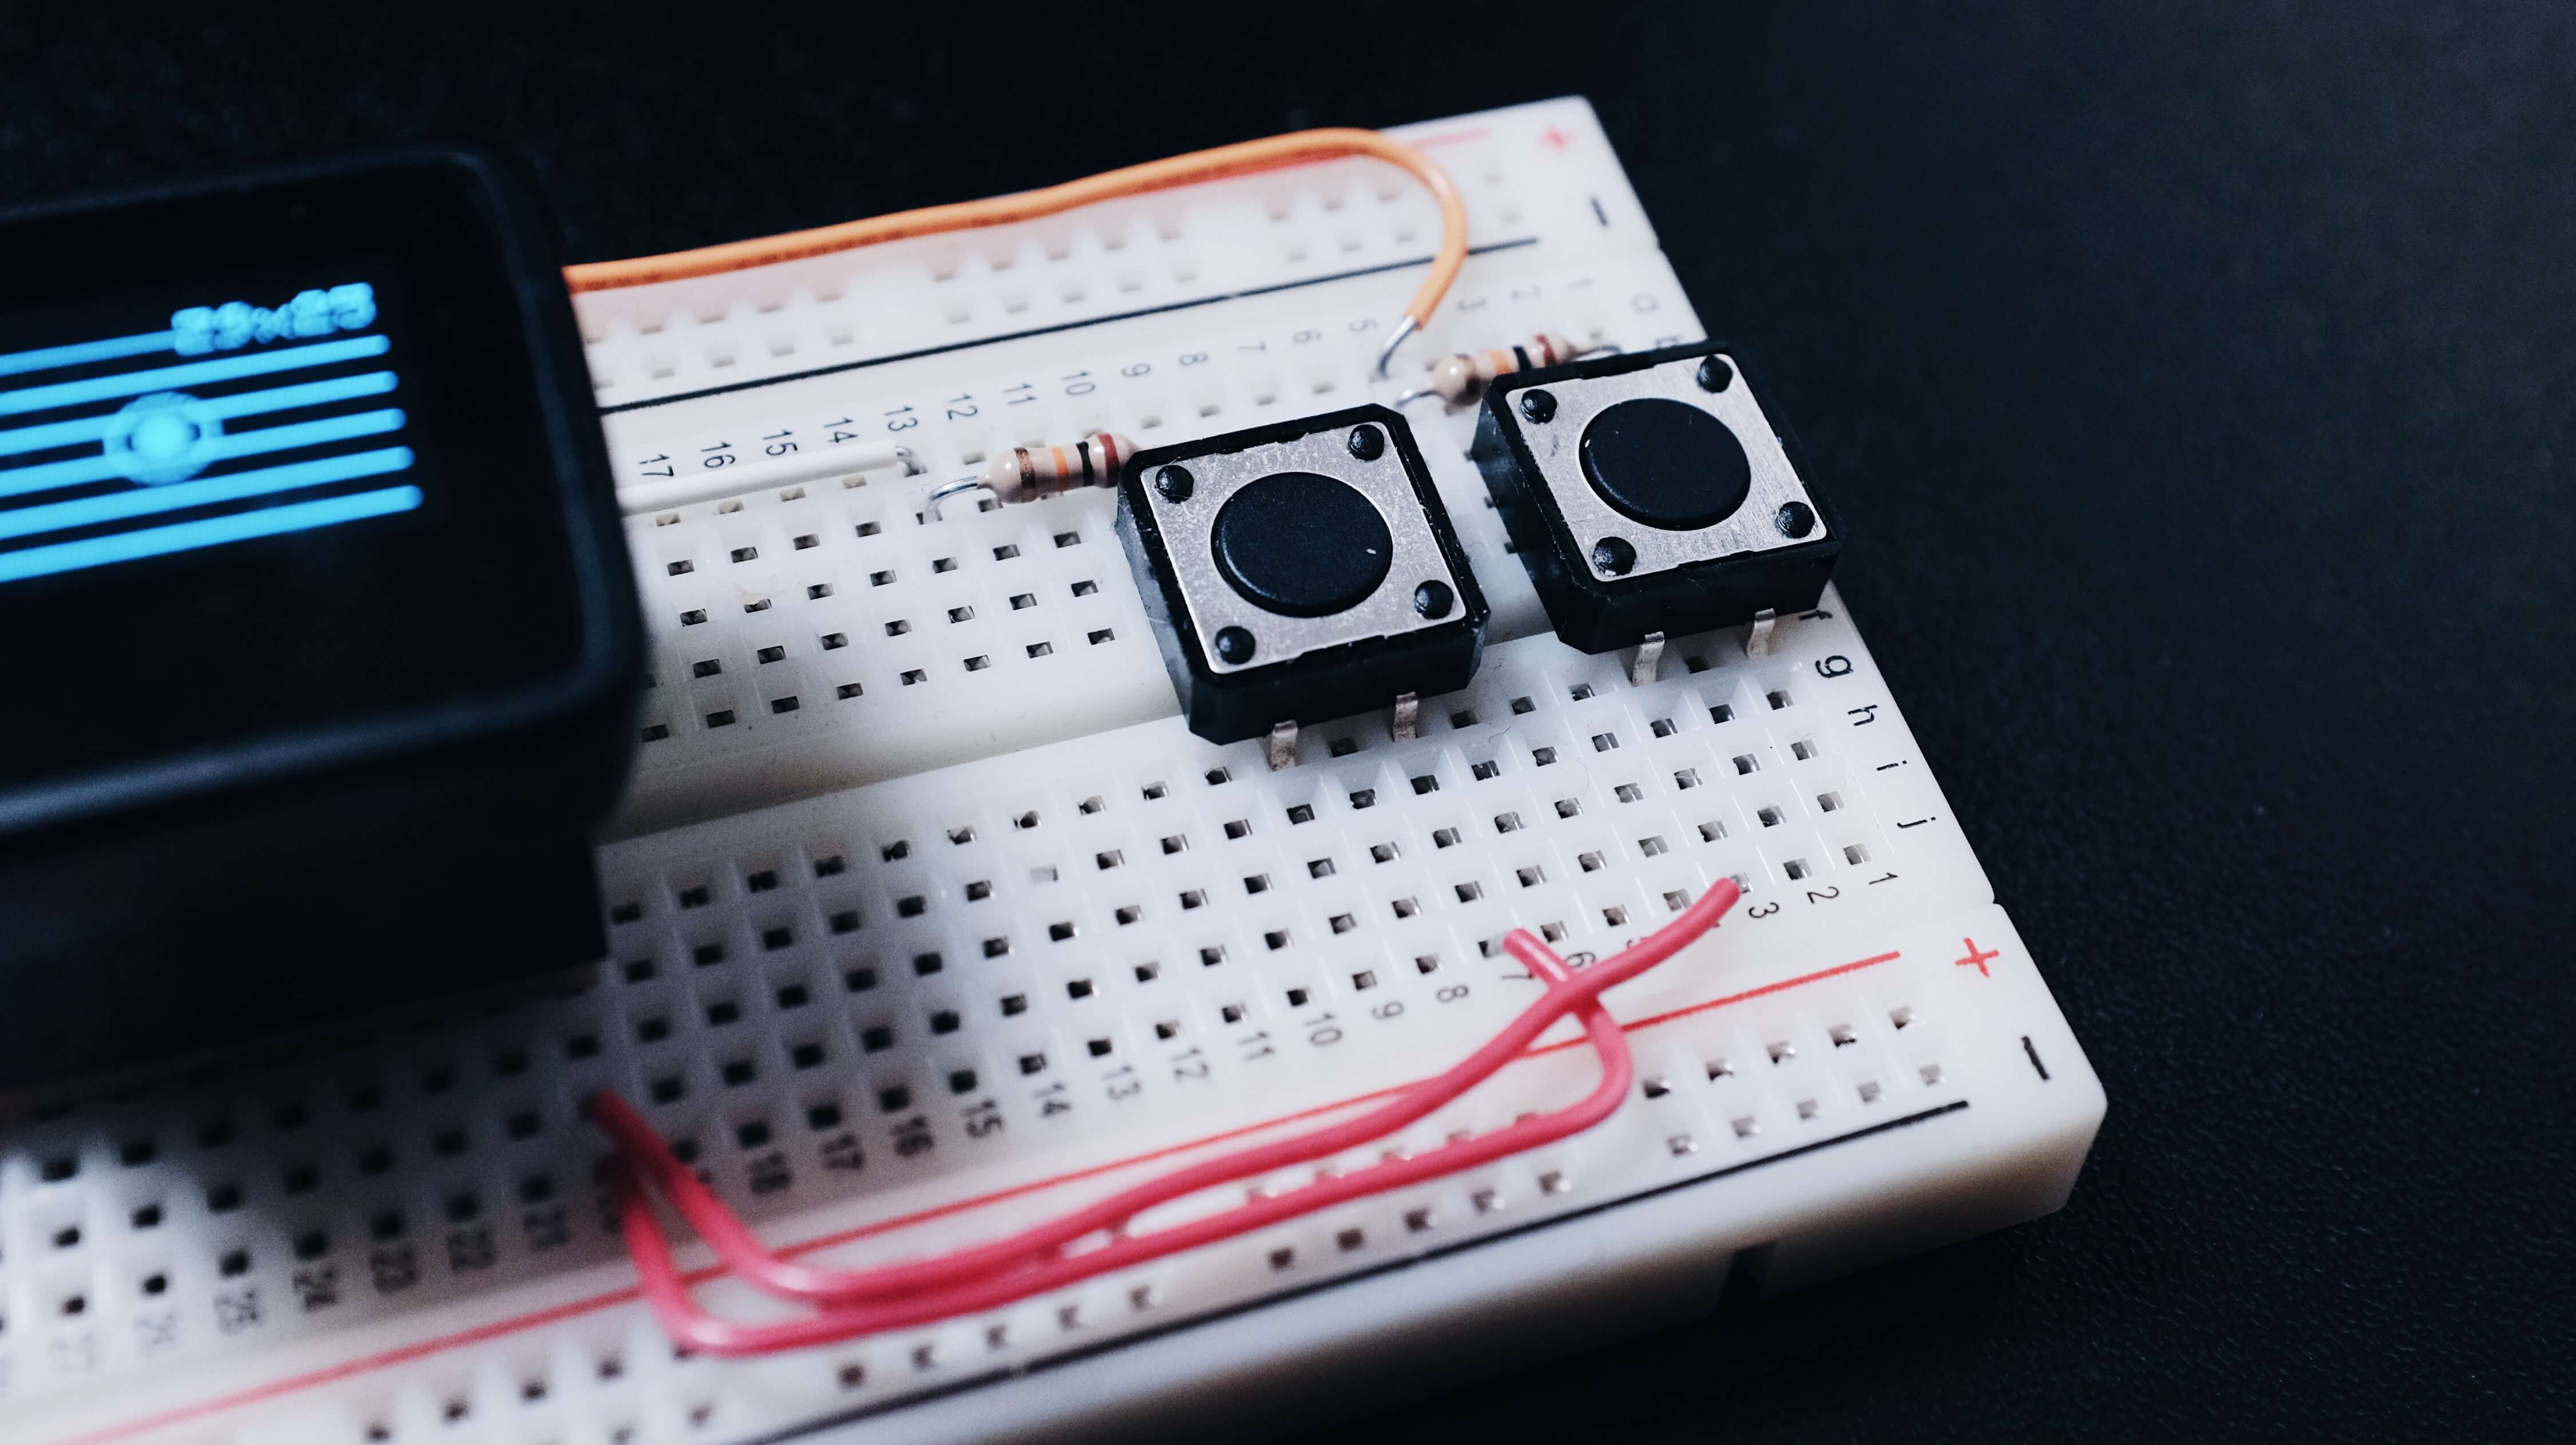
Note: I used the internal pull-up resistor in the MicroView, so I likely didn’t need those extra ones :)